
If you’ve created a Pages document on your Mac with a lot of embedded images, then you may need to know how to extract them all at once. This is handy if, for example, you added a bunch of pictures to a file and then lost the originals, or if you would like an easy way to gather previously used images for a new document.
The way this works is kind of weird, though, so first of all make sure you have a backup of the Pages document if you need to keep the original. This process shouldn’t hurt it, but I want you to be prepared in case it does cause an issue!
To make a backup of your Pages document prior to extracting its images, either use Time Machine to back up your whole Mac to an external drive, or open the document in Pages and choose File > Duplicate from the menus at the top to save out a spare version.
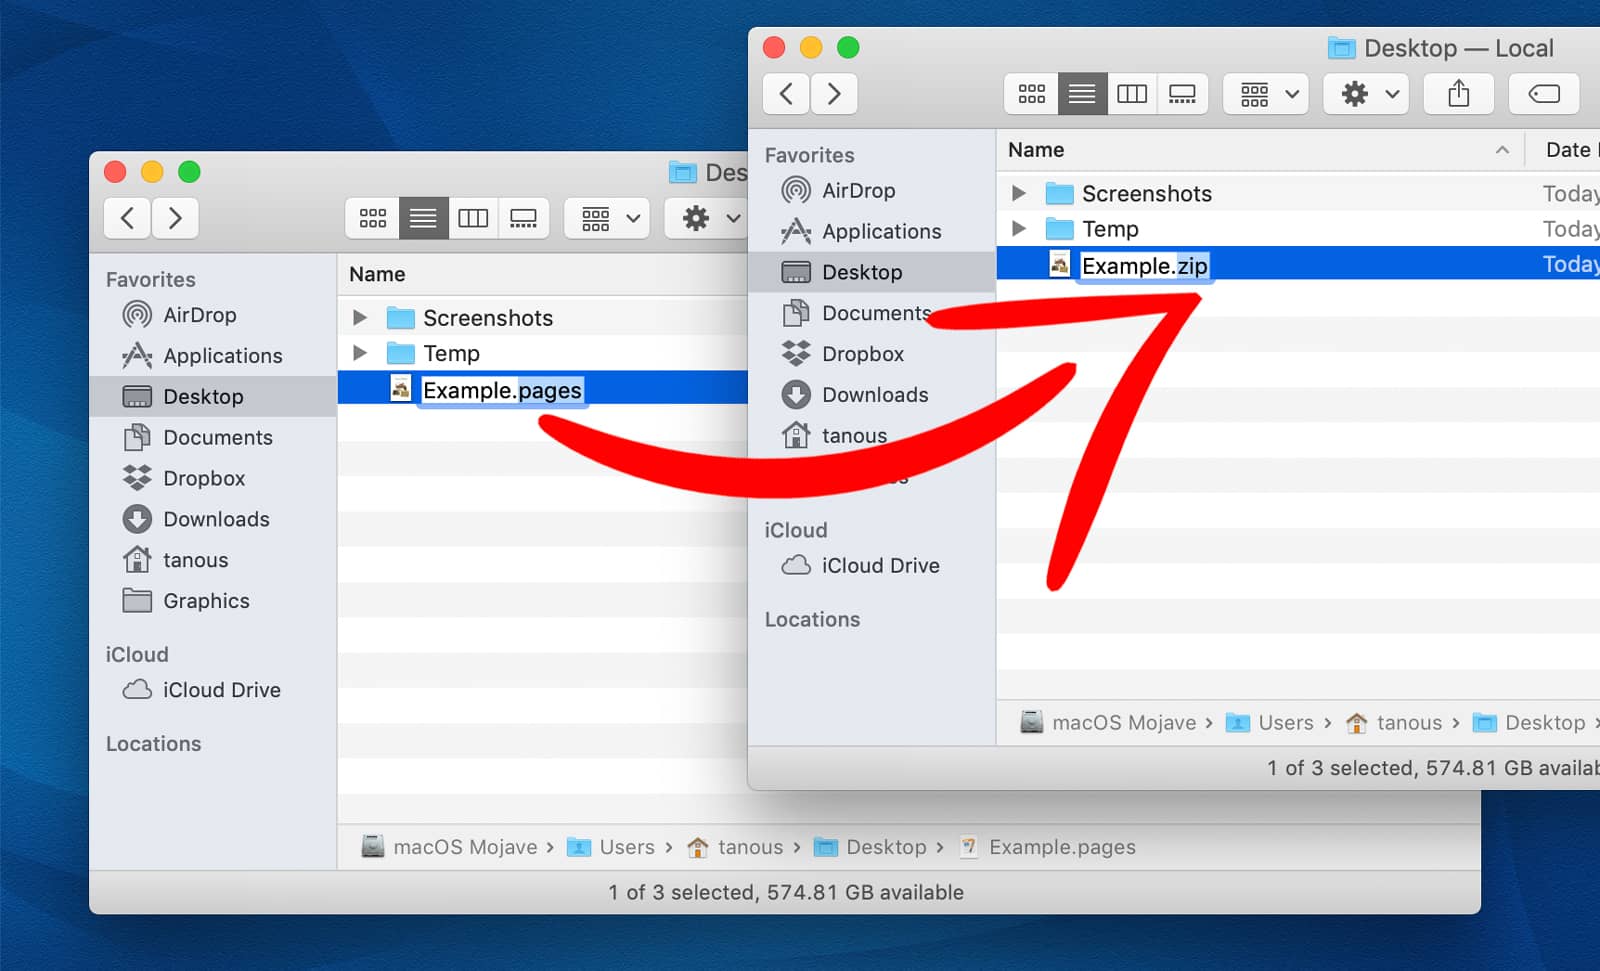
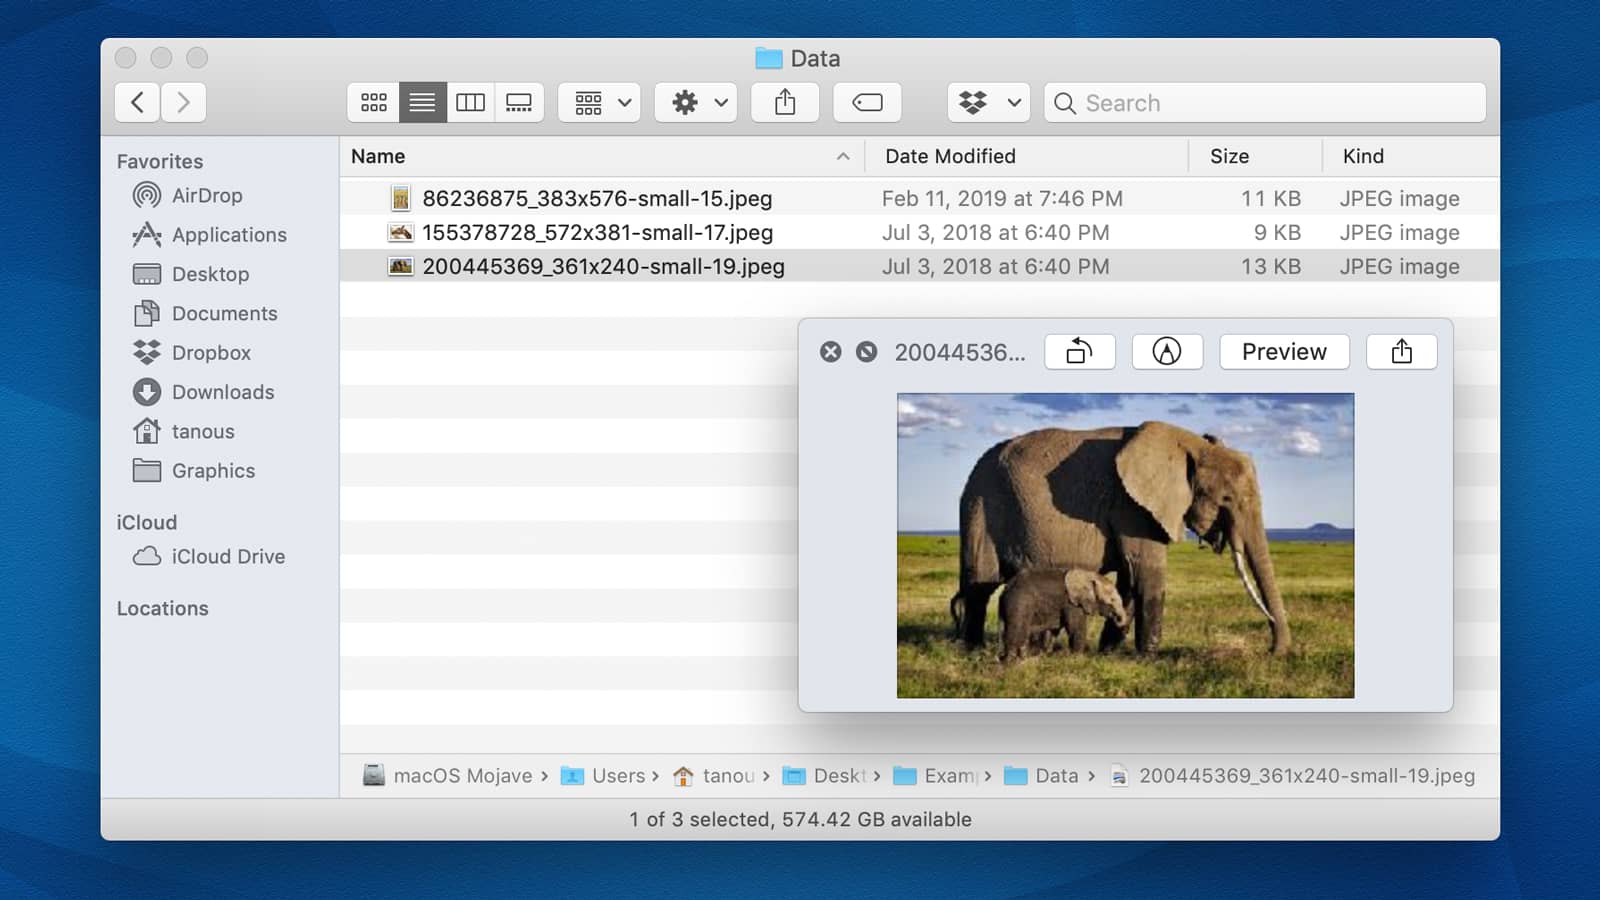
Once you’re all backed up, follow these steps to extract the images from a Pages file:
If you want to go back to the original Pages version of your file after you get your photos out of that folder, you can either use the duplicate you created above or change the file’s extension back from “.zip” to “.pages,” which should just return it to its original glory.
Now, this works with Microsoft Word files, too, but not if they’re in their native format. In order to extract images from a Microsoft Word document using this same process, you need to convert the file to Pages first:
With this method, you don’t necessarily need to create a backup of your Word document first, since the process of converting it via Pages creates a duplicate copy for you, leaving the original Word file intact.